Installing the ArcGIS Pro add-in
Install the ArcGIS Pro add-in using
one of these two methods.
- Installing the add-in on the client machine
- Copying the add-in file
See the sections following this topic on how to use one of these two methods for installing the add-in on a machine.
After the toolbar add-in is intalled, the HxGN EAM add-in is available for use.
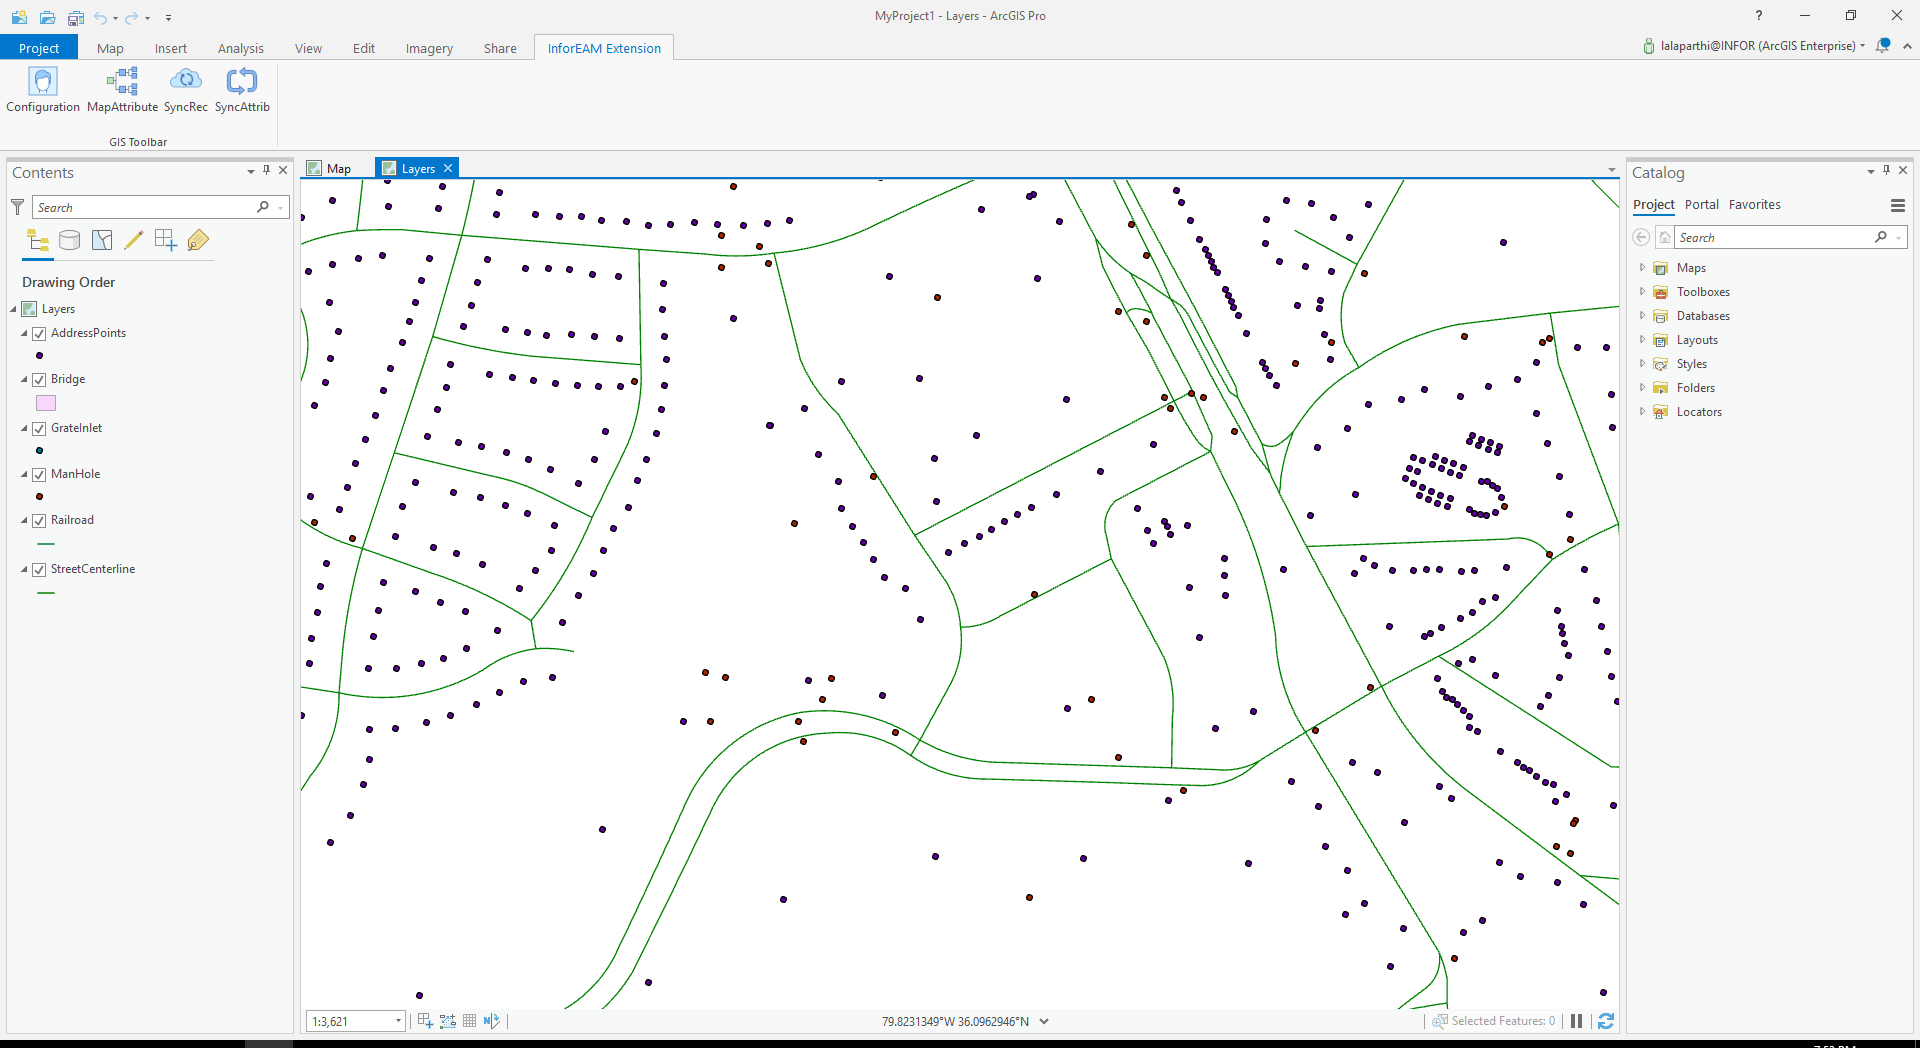
Installing on the client machine
Install the file on the client machine.
- Copy the .esriAddInX file to any folder on the client machine.
- Double-click the file on the client machine, and then click the option.
- After the toolbar .esriAddInX file is installed, restart the ArcGIS Pro instance to view your changes.
- After the toolbar add-in is installed, the HxGN EAM add-in is available for use.
Copying the add-in file
Copy the .esriAddInX file.